Learn to Work in Clipify, an iMovie for PC
Just like iMovie, Clipify is perfect for creating family videos, YouTube tutorials, or short student movies. Let’s take a closer look at the workflow and tools of this free video editor.
Step 1. Download Clipify
Click the button below to download this iMovie for Windows. Follow the wizard to install it. Run Clipify.

 For Windows 11, 10, 8, 7
Step 2. Trim Your Footage
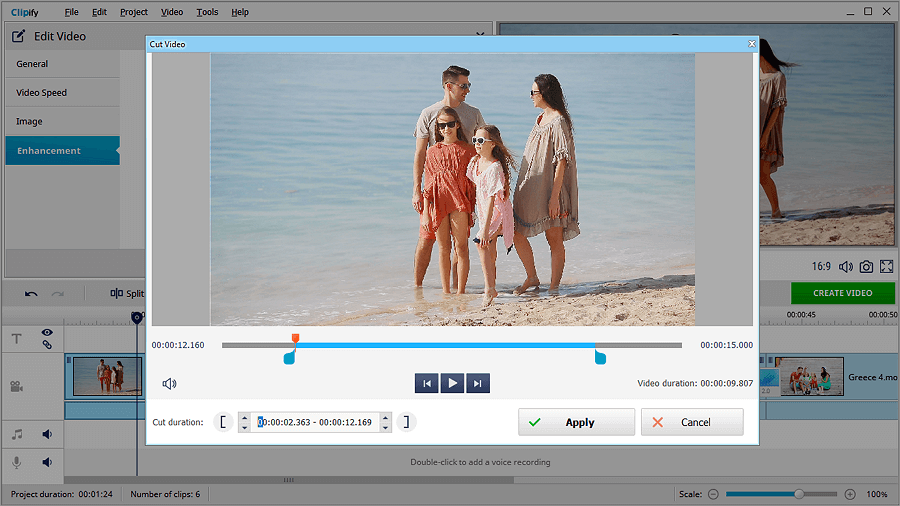
Add your clips to the Timeline. If your clips have some extra footage you want to delete, then click the "scissors" icon. Move the blue markers to set the new start and finish for your clip.
Step 3. Enhance Your Videos
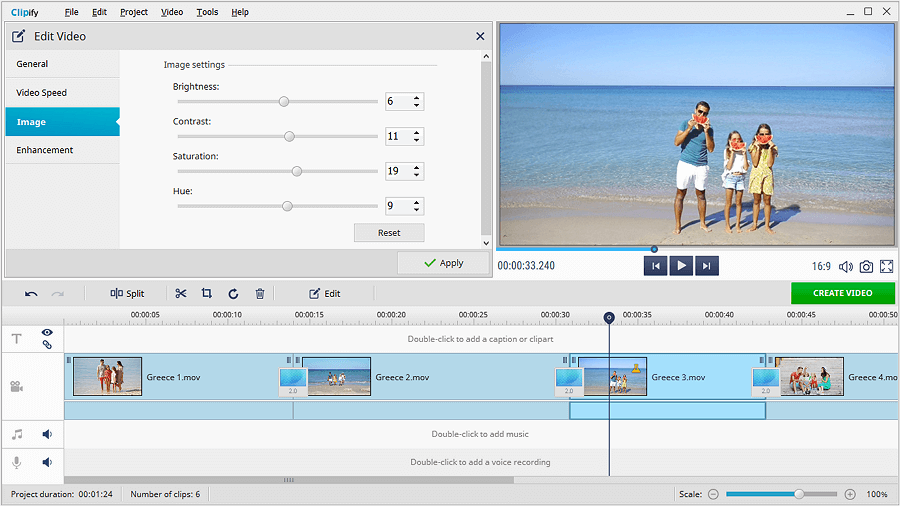
In case your clips look too dull and dark, enhance them in a click. Just hit the Edit button, then switch to the Enhancement tab. Check the Auto Enhancement box to improve the quality of your video.
Step 4. Color Correct Your Clips
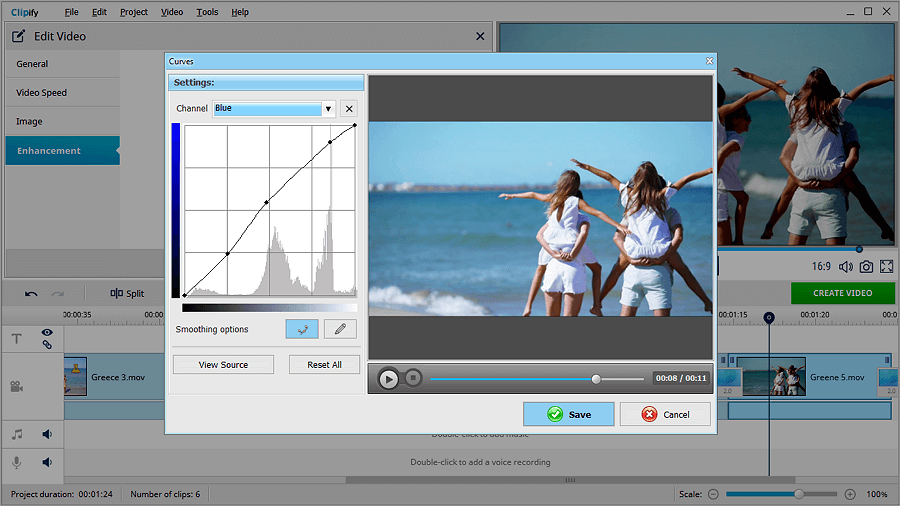
Your videos could use some color correction? Then do it like a pro. While on the Enhancement tab, hit Correct Colors Using Curves. Tweak the Brightness channel to make your video lighter. Switch to the RGB channels to either bring out a certain hue or get rid of a color cast.
Step 5. Crop Your Footage
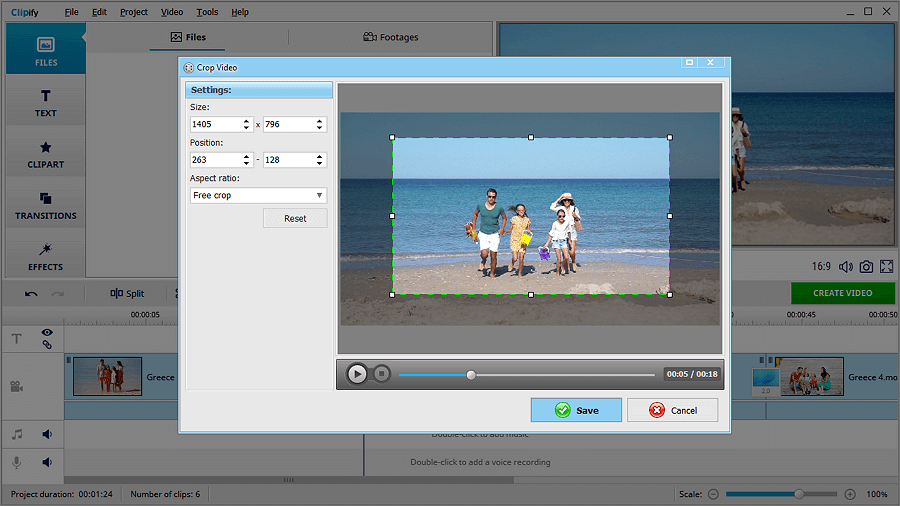
Have unsightly black bars on your video or just want to zoom in on something beautiful or dramatic? Then highlight the piece you want to crop, then pick up the crop tool. Choose the Free Crop option and set the new borders for the frame.
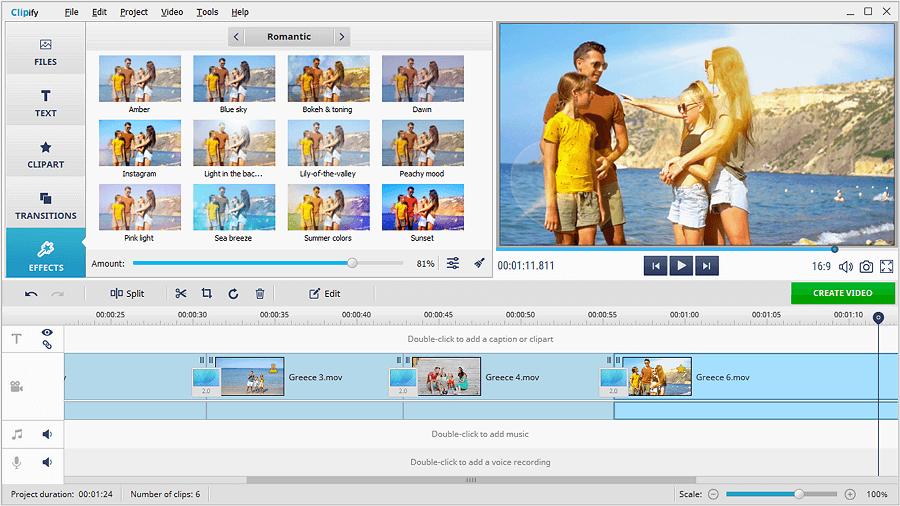
Step 6. Add Zest with Effects
Switch to the Effects tab. Browse through the available filters. There are effect options for every taste: vintage, toning, lighting, Lomo, black and white variations, and even popular movies color palettes. Pick the one that would suit your footage. Drag and drop the effect to your clip.
Step 7. Pick a Soundtrack for Your Movie
Want to add a tune to your movie? Then click the Add Audio Files button to pick a music track of your own. Alternatively, go with one from the software’s library. Clipify comes with a vast selection of tunes of any genre and tempo. There are over 200 tracks that are all free to use.

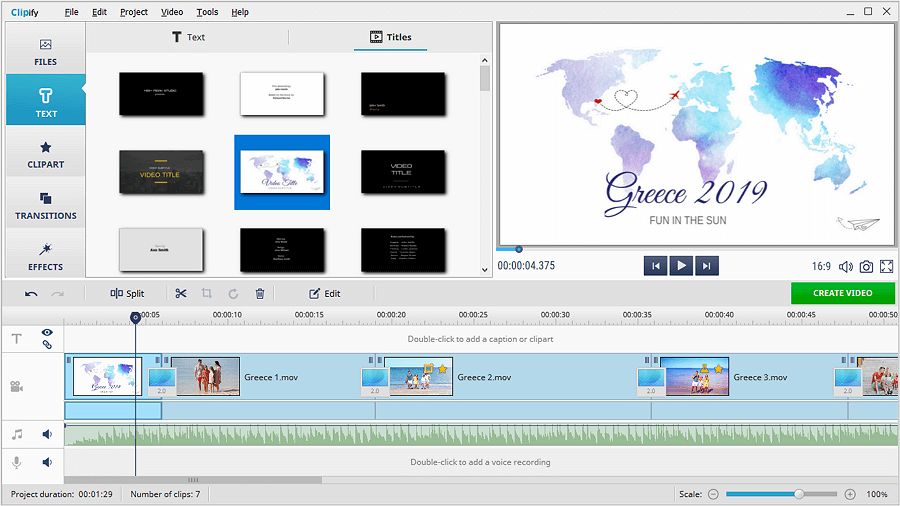
Step 8. Insert Title Cards and Captions
Switch to the Text tab. Use the Text tool to add any kind of text to your video. Go with the predesigned styles or create your own. Want to use pro-looking title cards like in Hollywood flicks? Switch to the Titles tab and add a title you like to your movie.
Finally, save your movie. Clipify offers tons of export options: video for TV, mobile device, video hosting, social media, and even DVD.
And this is it - you’ve created your first awesome-looking movie! Already eager to make more? Then get started with Clipify and find out more about its handy features and tools!
Disclaimer: iMovie is a trademark of Apple, Inc. Clipify is a trademark of AMS Software. Clipify was not developed by or is in no way affiliated with Apple, Inc., nor is it the official stand-in for iMovie. This site is not affiliated with either of the companies, and only reflects the opinions of its creators.